How to set up domain forwarding on Network Solutions

Quick Answer
To set up domain forwarding on Network Solutions, log in to your account, open My Domain Names, select the domain, and configure Domain Forwarding in the domain settings. Enter the destination URL and save the changes to redirect visitors from your domain to another website.
Steps to Set Up Domain Forwarding on Network Solutions
1. Log in to your Network Solutions account
Go to your Network Solutions Account
Enter your ‘Username’ and ‘Password’
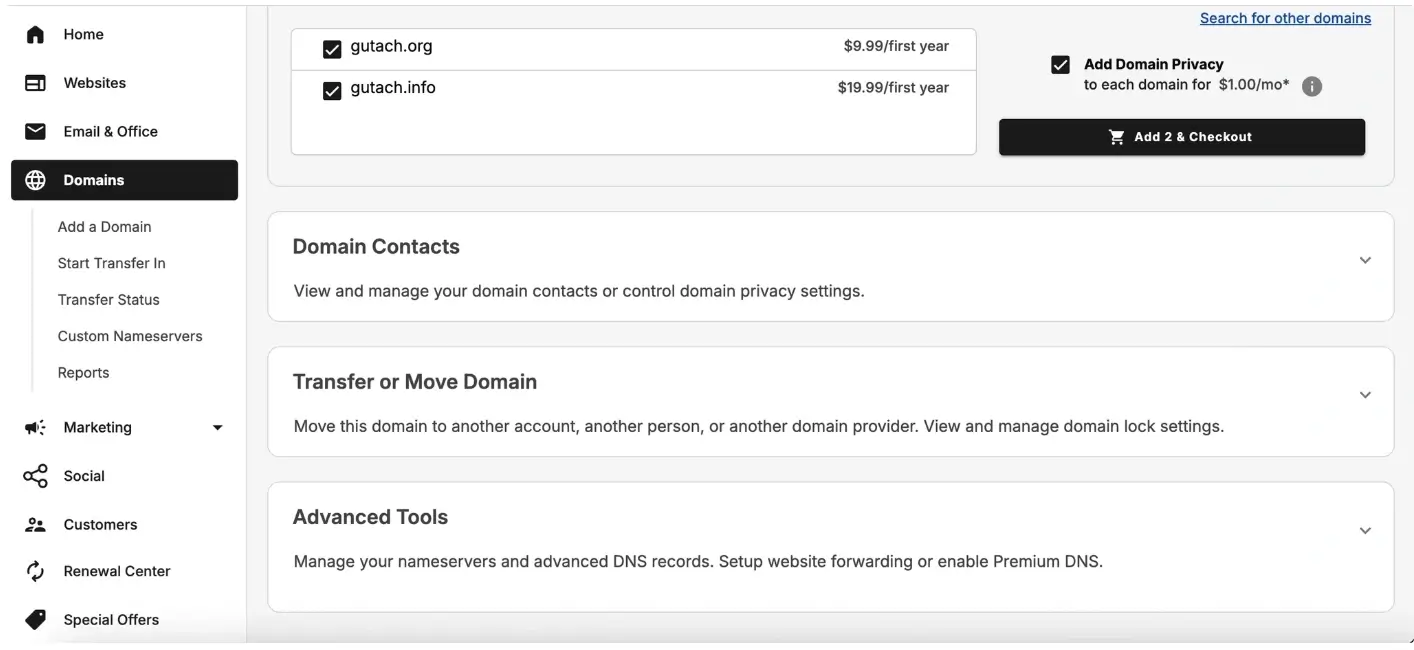
2. Open your domain settings
Go to your domain list
Find the domain you’re looking for and click Settings

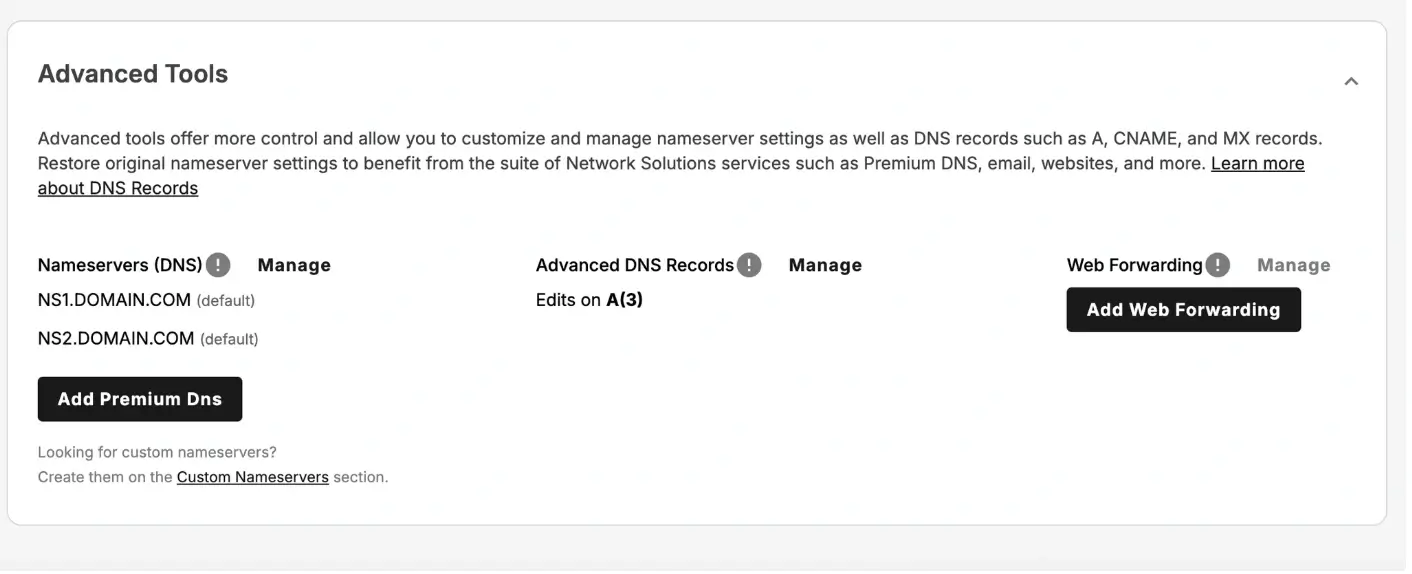
3. Locate Domain Forwarding settings
Scroll down to “Advanced Tools”
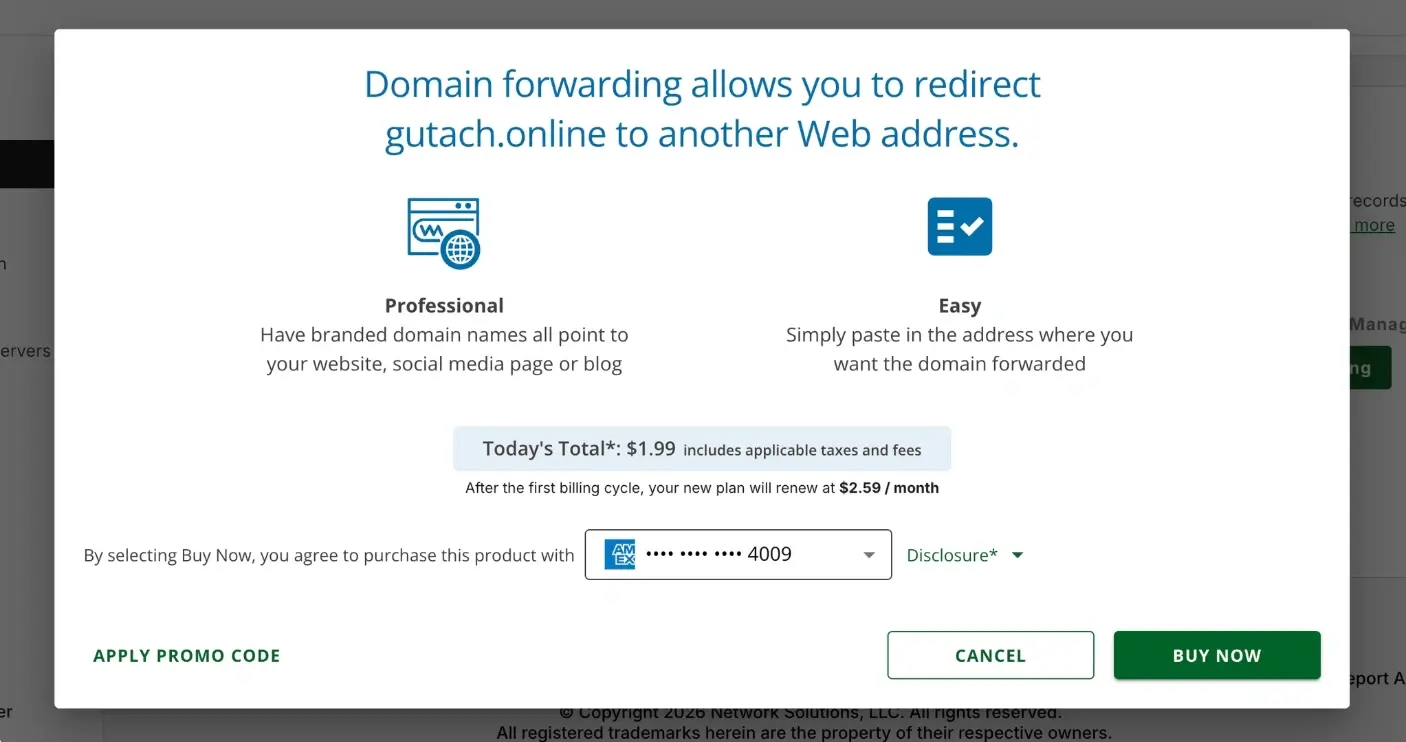
Expand Advanced tools and click “Add Web Forwarding” box next to Web Forwarding
Click the “Buy Now” option and wait for your order to be processed
4. Enter the destination URL
Type the full website address you want to forward the domain to
Example: https://example.com
5. Choose forwarding options
If available, select your preferred forwarding type:
Permanent (301) redirect
Temporary (302) redirect
Forward with or without masking
6. Save your changes
Click Save
What Happens Next
Domain forwarding usually begins working within a few minutes to several hours, depending on DNS updates and caching.
Does Network Solution Charge for Domain Forwarding?
Yes, Network Solutions charges for domain forwarding. Many other registrars include this for free, but on Network Solutions, this is a paid monthly service.
Common Issues
- Forwarding not working
- Confirm the destination URL includes https:// or http://
- Wait for DNS updates to propagate
- Domain still showing a parking page
- Ensure forwarding is enabled
- Clear your browser cache or test in a private browser window
We regularly review and update our guides to keep them accurate. If something looks off, email guides@snagged.com and we’ll fix it.