How to add a DKIM record on Network Solutions

Quick Answer
To add a DKIM record on Network Solutions, log in to your account, open My Domain Names, select your domain, and go to DNS Settings or Advanced DNS. Then add a TXT record or CNAME record (depending on your email provider) for the DKIM key.
Steps to Add a DKIM Record on Network Solutions
1. Log in to your Network Solutions account
Go to your Network Solutions Account
Enter your ‘Username’ and ‘Password’
2. Open your domain settings
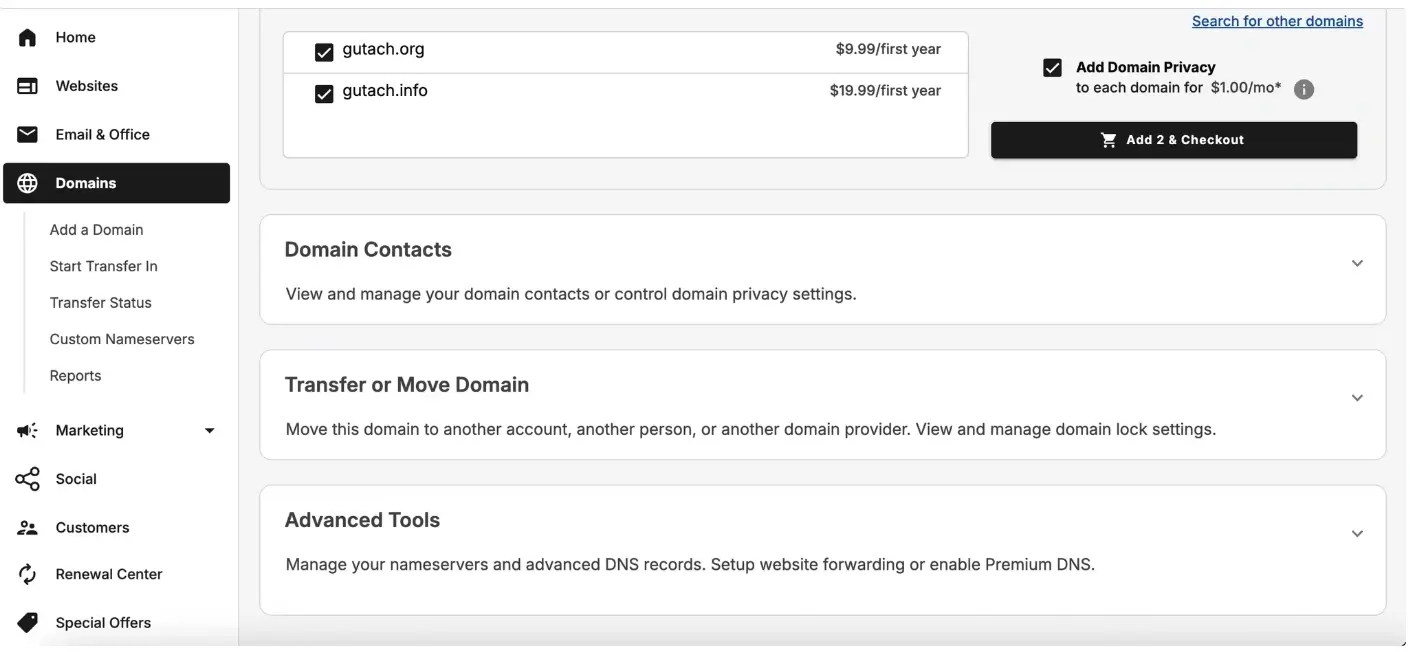
Go to your domain list
Find the domain you’re looking for and click Settings

3. Locate DNS records settings
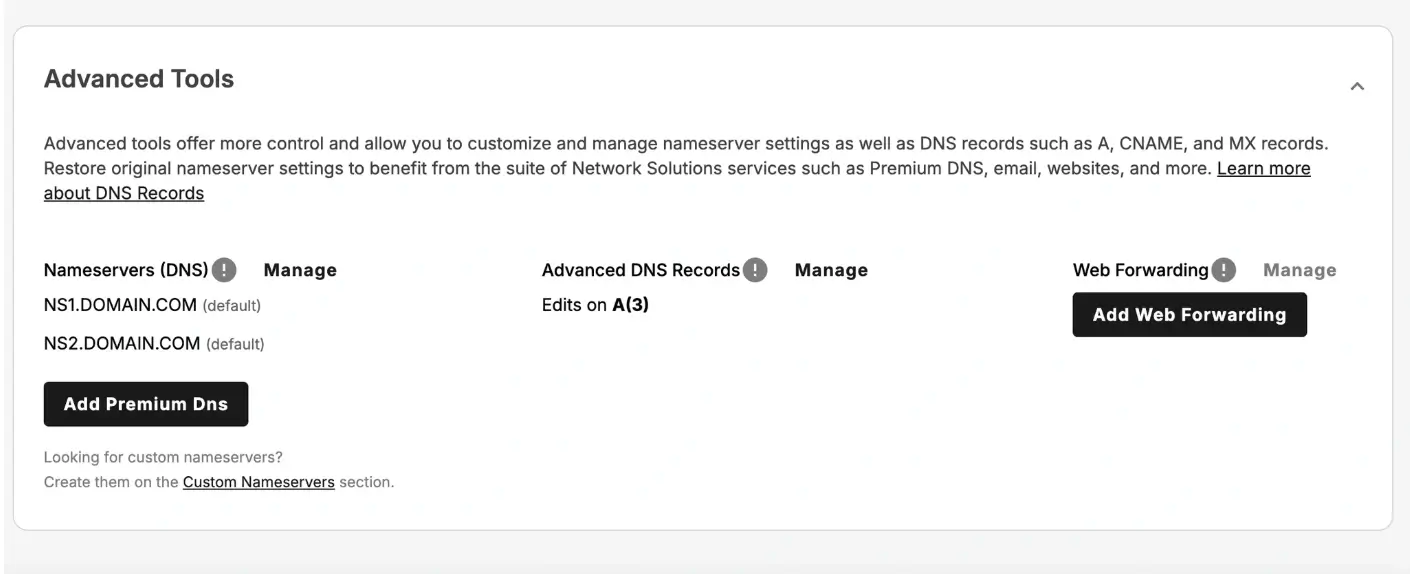
Scroll down to “Advanced Tools”
Expand Advanced tools and click “Manage” next to the Advanced DNS records
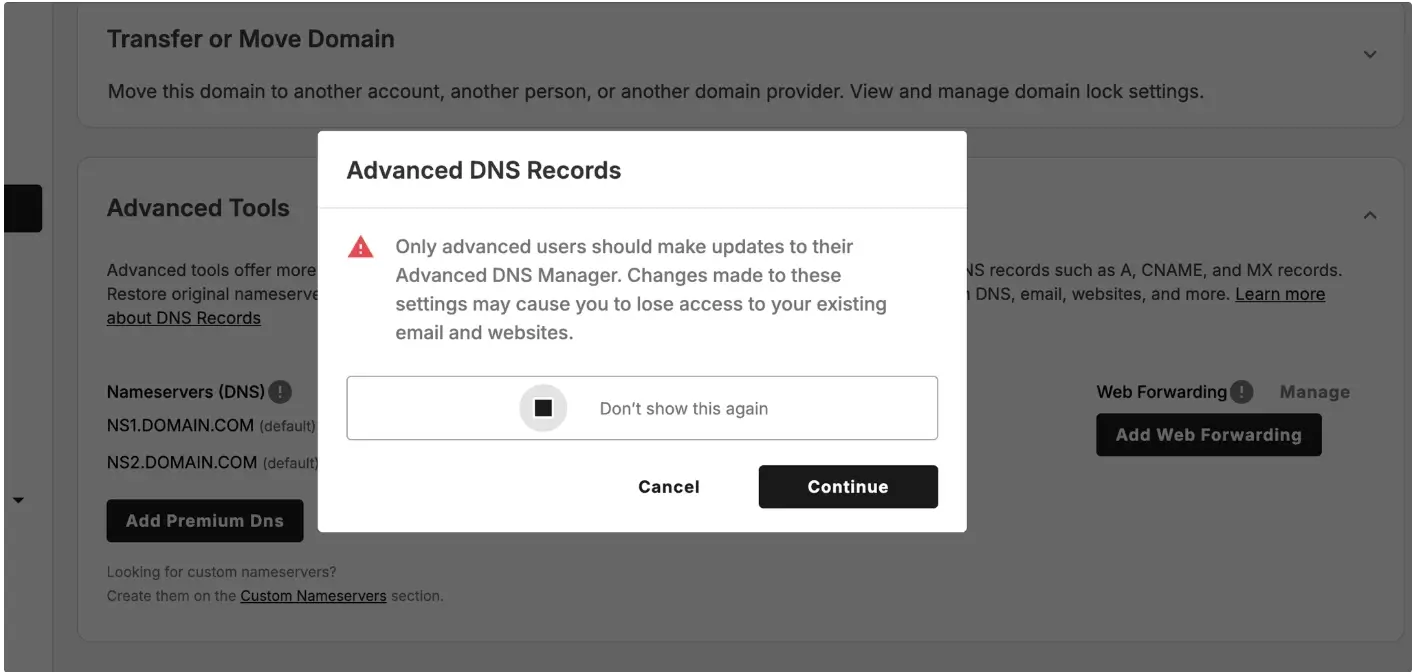
A pop-up will show on your screen then click “Continue”
4. Add a new DNS record
Click Add Record at the top right corner
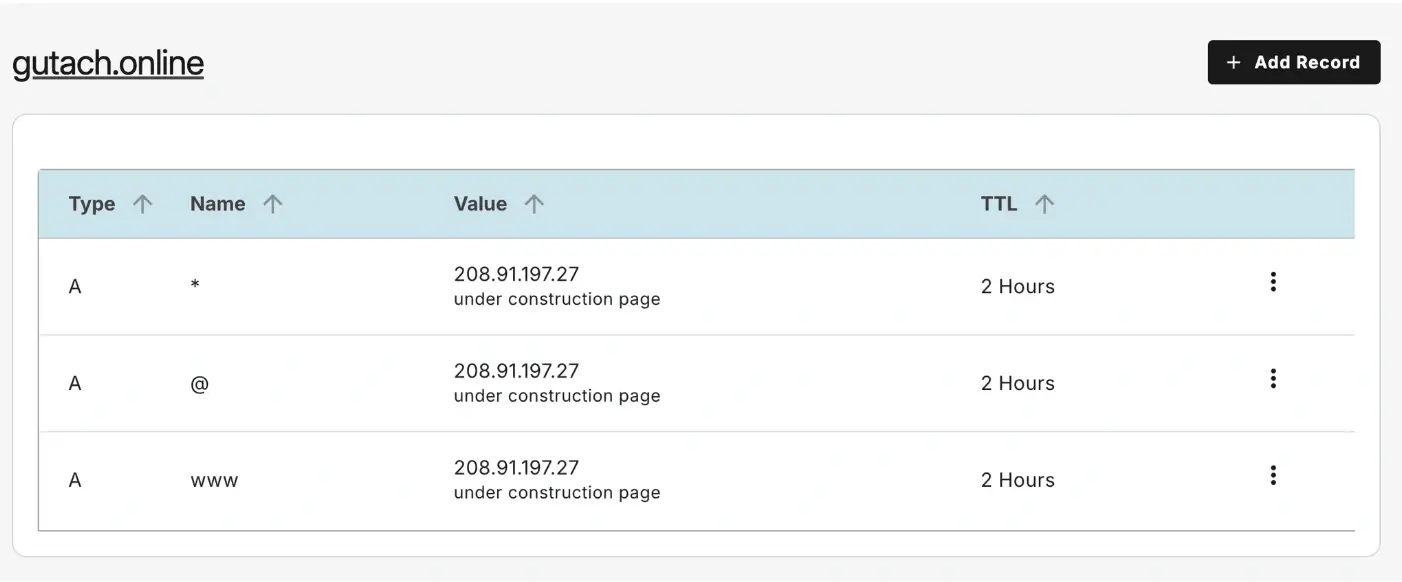
Select TXT or CNAME (based on your provider)
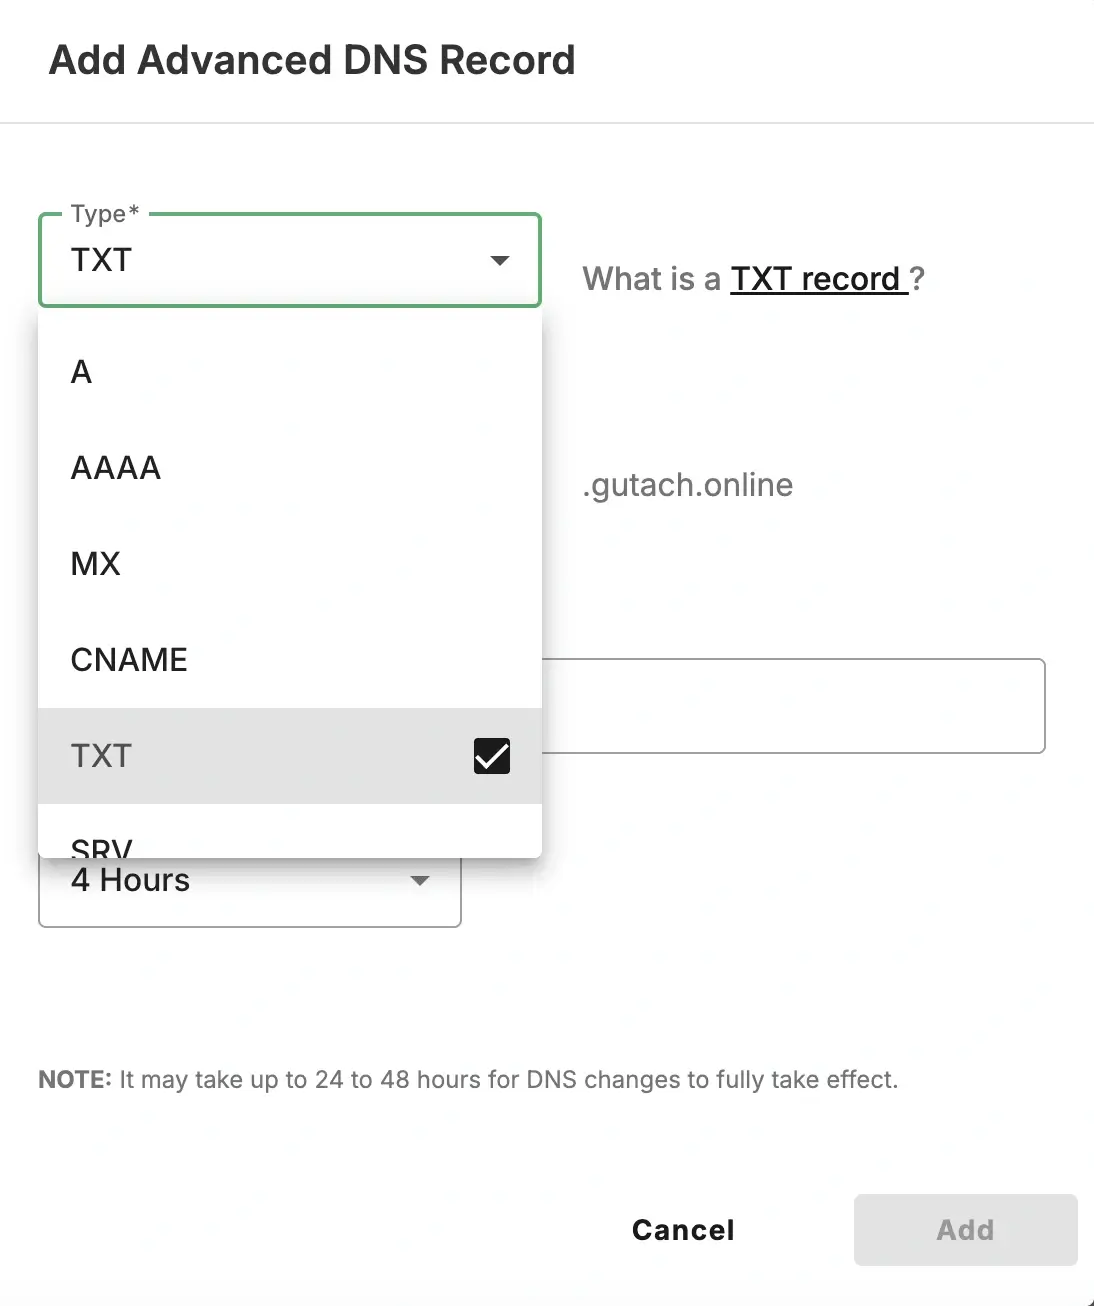
5. Enter the DKIM record details
Use the DKIM values provided by your email provider.
Typical fields:
Refers to: @
TXT Value: the DKIM key provided by your email service
Example TXT DKIM record:
TXT Value: v=DKIM1; k=rsa; p=PUBLICKEY
TTL: leave the default unless a specific value is required
6. Save the record
Click Add to save changes
What Happens Next
DKIM records usually propagate within a few minutes to 24 hours depending on DNS caching and TTL settings.
After the record is added, return to your email provider’s setup page and complete DKIM verification.
Common Issues
- DKIM verification failing
- Confirm the host name and value are copied exactly
- Wait for DNS propagation before verifying again
- Unable to add the DKIM record
- Check that the domain is using Network Solutions nameservers
- If custom nameservers are configured, DNS must be managed at that provider.
We regularly review and update our guides to keep them accurate. If something looks off, email guides@snagged.com and we’ll fix it.